How to Create Your Own LUT in Adobe Premiere Pro and DaVinci Resolve

Key takeaways
- Save custom color grades as reusable presets: Look-Up Tables (LUTs) act as color presets that apply specific aesthetics to footage. Creating custom LUTs helps colorists maintain a consistent visual style while speeding up grading across future projects.
- Export custom LUTs in Premiere Pro and DaVinci: Editors can adjust colors using Lumetri Color or DaVinci's color wheels, then export their grade as a .cube file. Choose 33-point cubes for 1080p footage or 65-point cubes for 4K.
- Apply LUTs efficiently across multiple clips: In Premiere Pro, applying a LUT to an adjustment layer automatically styles all clips beneath it. In DaVinci Resolve, custom LUTs refresh directly into the node library for instant application.
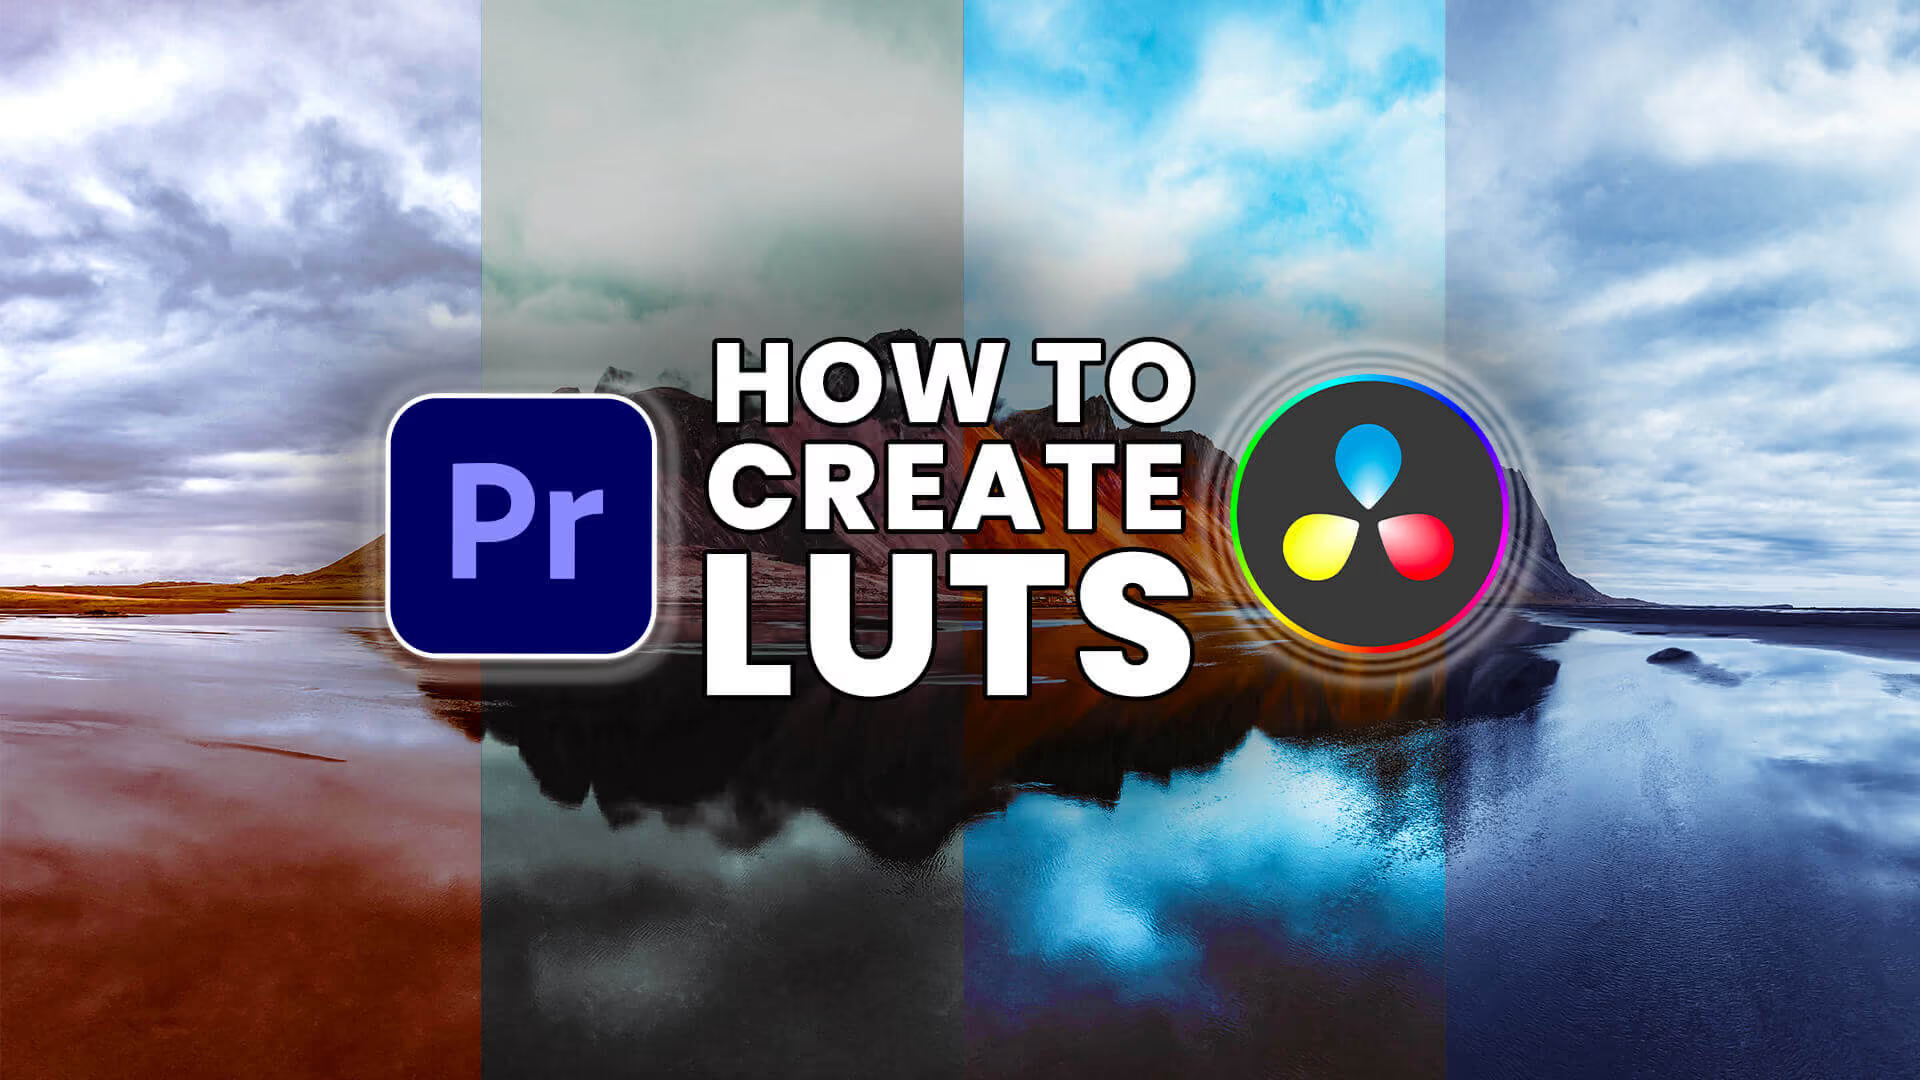
Nowadays, there is no shortage of LUT packages to download online. However, if you have a specific look you want to apply as a color grade, here’s how to create your own LUT (Look-Up Tables) in Adobe Premiere Pro and DaVinci Resolve.
What are LUTs?
Think of a LUT as a filter or preset that applies a specific color grade to your footage.
You can color grade a look for a specific visual feeling or your own unique style, and save that as a LUT to use in any of your productions. It saves lots of time and will help you create a consistent aesthetic for your viewers.
Of course, there are a ton of great LUT packages you can download that will likely give you the look you want but this tutorial will walk you through how to create a custom look of your own.
How to Create a LUT in Premiere Pro
Open up your clip in Premiere Pro.
Go to Window > Workspaces > Color.

Click Lumetri Scopes in the top left-hand side under the Edit tab so you can see the changes you make to your video. If you right-click on the chart, you’ll see options for different scopes.

Now go to the Lumetri Color panel on the right-hand side of the window.

In this example, we’re going to make the video a bit more gloomy. Under Basic Correction, we’ll add more blue in Temperature and green in Tint, all the while checking the scopes.
You can also play around with exposure, contrast, highlights, shadows, and more.
Below Basic Correction, you will see Creative. Open up these settings.
Click the drop-down menu beside Look. You’ll see many options for pre-determined looks for your video.

For this example, we’ll go for the Faded Film look (under Adjustments).

We’ll also add more vibrance and lower the saturation. We’ll also play around with the Shadow Tint and Highlight Tint.
The next tab is Curves. You can play around with the settings to change the lighting and colors of the video.

The Color Wheels tab has settings that allow you to change the colors of the midtones, shadows, and highlights.
🎥 Watch: Subscribe to our YouTube channel for more in-depth color grading tutorials!
Go to the top right-hand side where it says Lumetri Color and click on the 3 horizontal lines. Go to Export .cube.

Save it somewhere easy to access and give it a proper name so you know exactly what’s in the file.
Add custom LUTs to your projects
Erase the color grading you just did from the effects control.
To add the LUT you can do it through the Basic Correction or Creative tab.

If you use Basic Correction, click the drop-down menu beside Input LUT, click Browse… and select your LUT.

If you’re doing this from the Creative tab, click the drop-down menu beside Look, click Browse… and select your LUT.
Add custom LUTs to different clips at the same time
Start by making an adjustment layer.
Click on the paper icon to create a new item in the project window at the bottom left-hand side.

Click OK and drag the adjustment layer on top of your clips.

Add the LUT to it. Anything underneath the adjustment layer will take on the color characteristics.
💡 Related: How to Make Your Voice Sound Better in Premiere
How to Make a LUT in Davinci Resolve
Start by clicking on the HDR tab which can be found in the middle of the window on the left-hand side. Here you can play around with the Dark, Shadow, Light, and Global color wheels.
Click the Curves – Custom tab (graph icon) in the middle of the window. Play around with it until you’re satisfied. For example, you’re able to add contrast to your video here.

Remember to check your Scopes, which is on the bottom right-hand side. You can click the dropdown menu beside Scopes to choose the type of scopes you want to see.

Click the icon beside the HDR tab to open Primaries – Color Wheels in the middle of the window on the left-hand side. Here you can play around with the saturation and colors.
💡 Related: Easy Premiere to DaVinci Roundtrip Workflow
To save this color grade as a LUT, go to the thumbnail in the middle of the window.

Side note: If you don’t see this window, you can activate it by clicking Clips in the top right-hand corner.

Right-click on the thumbnail in the middle of the window and select Generate LUT.

The 65 Point Cube retains more information and is usually used for heavy files 4K and higher. If you’re working with 1080p files, 33 Point Cube should be adequate.
This will immediately save your grade in DaVinci’s LUTs folder. Name it appropriately so it’s easy to find.
And you’re done!
How to add your custom LUTs into DaVinci
First, reset the Node Grade.

Then go to the LUTs tab in the top left-hand corner.

Here you’ll find all the different LUTs DaVinci Resolve offers by default. Play around with these–you might find one that matches the look you’re going for.
Right-click on the menu window and click Refresh.

Your LUT should now appear under the LUTs tab.
You can also view it by right-clicking on the Node on the right-hand side of the screen and going to LUT. Scroll down until you see your LUT.
Now you’re a pro at creating custom LUTs in DaVinci Resolve!
How to Send Your Color-Graded Footage
Now you know how to create your own LUT in Premiere Pro and DaVinci. Now, how will you get that beautiful footage where it needs to go? Or, how do you get log footage for grading in the first place?
As you know, color grading involves working with high-resolution footage. And that means really heavy files. We know the perfect way for you to send or receive big video files for color grading–it’s MASV of course.
It’s the best file transfer tool built with colorists, editors, and filmmakers in mind. Sign up-today.
Related articles
.avif)